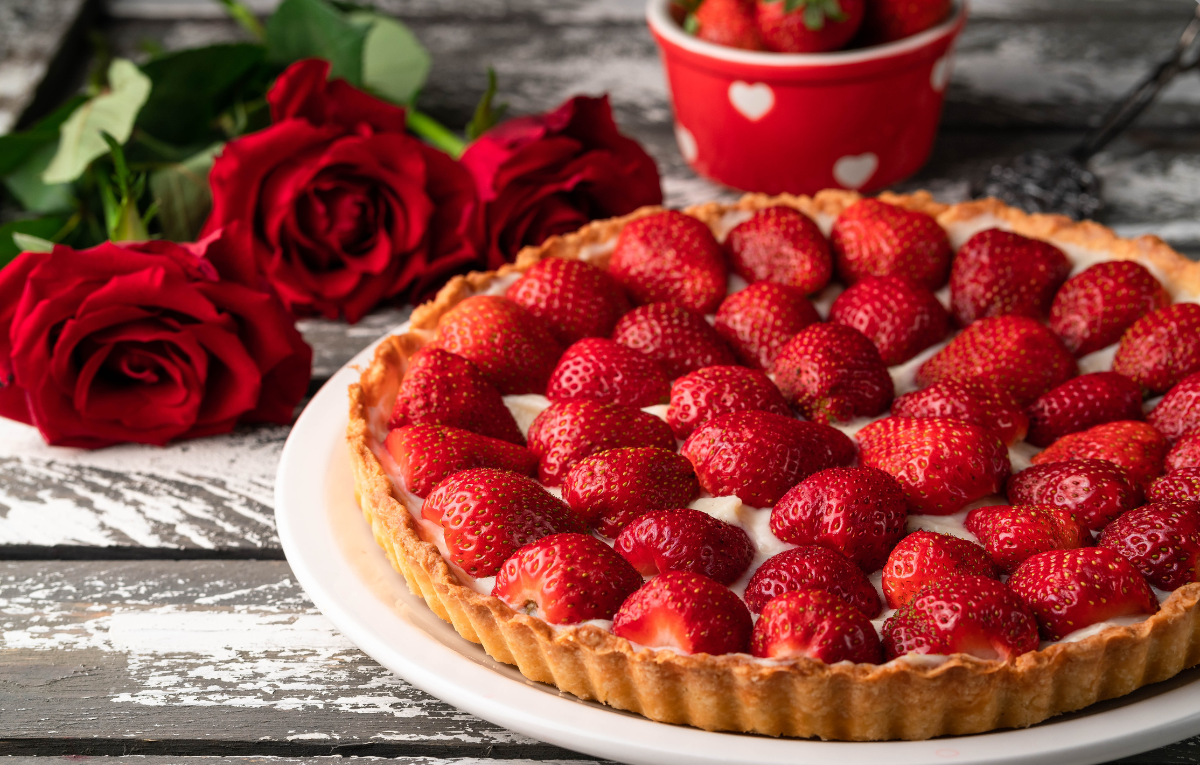
Mouthwatering Gluten-Free Strawberry Tart
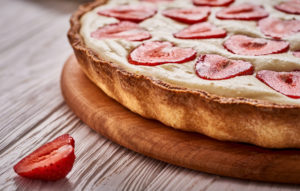
If you’ve been missing a beautiful, bakery-worthy dessert since going gluten-free, this gluten-free strawberry tart is exactly what you’ve been waiting for. The almond flour crust is buttery and crisp, the vanilla custard filling is silky smooth, and the fresh strawberries on top make it look like something straight out of a patisserie window — no one will ever guess it’s gluten-free.
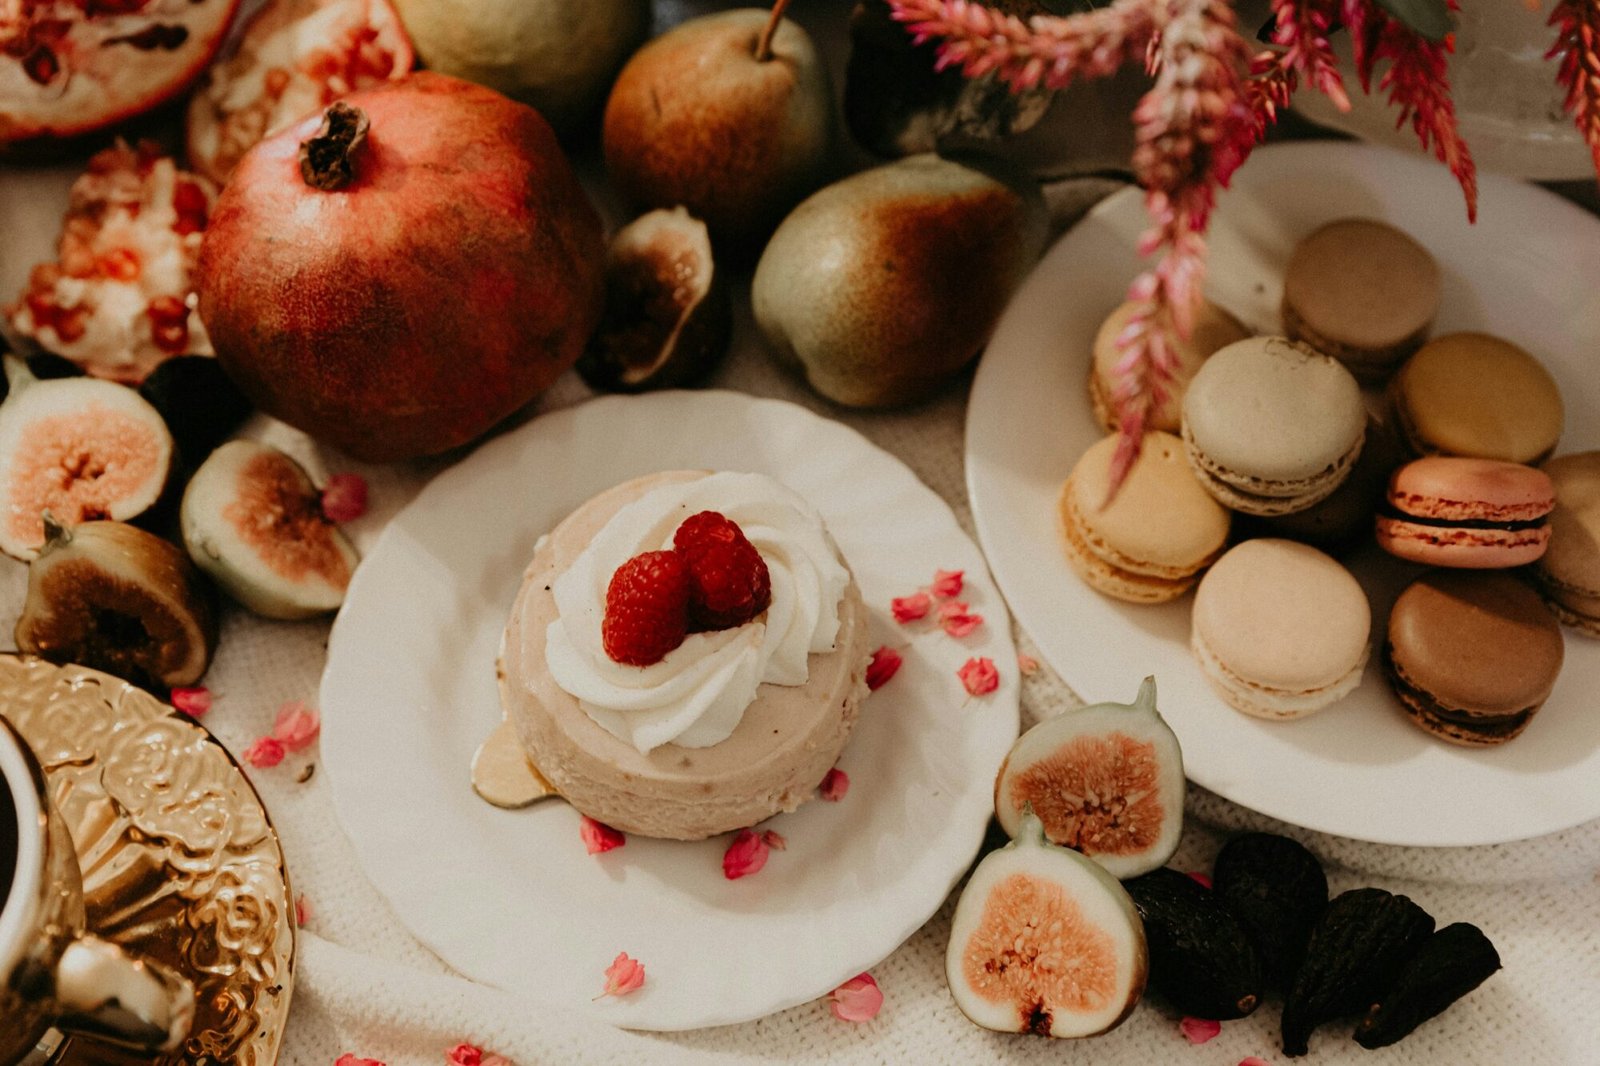
It’s the kind of tart that gets photographed before it gets eaten.
What You’ll Need
For the Crust:
2 cups almond flour 3 tablespoons granulated sugar ¼ teaspoon salt 5 tablespoons unsalted butter, melted 1 large egg
For the Custard Filling:
1½ cups whole milk 3 large egg yolks ¼ cup granulated sugar 3 tablespoons cornstarch 1 teaspoon pure vanilla extract 2 tablespoons unsalted butter
For the Topping:
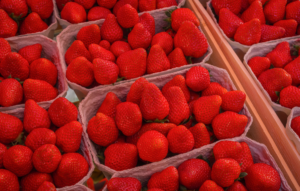
1½ pounds fresh strawberries, hulled and sliced 3 tablespoons apricot jam or strawberry jam (for glaze) 1 tablespoon water
How to Make a Gluten-Free Strawberry Tart
Making the Almond Flour Crust
Preheat your oven to 350°F (175°C) and lightly grease a 9-inch tart pan with a removable bottom.
In a medium bowl, mix the almond flour, sugar, and salt together. Add the melted butter and egg and stir until a soft dough forms — it should hold together when pressed.
Press the dough evenly into the bottom and up the sides of your tart pan. Use the bottom of a measuring cup to smooth it out. Prick the bottom a few times with a fork.
Bake for 12 to 15 minutes, until the edges are golden and the center is just set. Let it cool completely before adding the filling.
Making the Custard Filling
Warm the milk in a small saucepan over medium heat until it just begins to steam — do not boil.
In a separate bowl, whisk together the egg yolks, sugar, and cornstarch until pale and smooth.
Slowly pour the warm milk into the egg mixture in a thin stream, whisking constantly. This tempers the eggs so they don’t scramble.
Pour the mixture back into the saucepan and cook over medium heat, stirring constantly, until it thickens — about 4 to 6 minutes. It should coat the back of a spoon.
Remove from heat and stir in the vanilla extract and butter until fully melted and smooth.
Pour the warm custard into a bowl, press a sheet of plastic wrap directly onto the surface (to prevent a skin from forming), and refrigerate for at least 2 hours until firm.
Assembling the Tart
Once the crust and custard are both fully cooled, spread the custard evenly into the tart shell using a spatula.
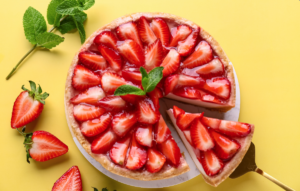
Arrange the sliced strawberries on top in whatever pattern you like — overlapping rows, a spiral, or a simple rustic scatter all look gorgeous.
For the glaze, warm the apricot jam and water in a small saucepan until smooth, then brush it lightly over the strawberries. This gives them that signature glossy, patisserie finish and keeps them fresh longer.
Refrigerate the assembled tart for at least 30 minutes before slicing and serving.
Tips for the Best Gluten-Free Strawberry Tart
Use fine almond flour, not almond meal. Almond meal is coarser and will make your crust grainy and crumbly rather than smooth and crisp. Bob’s Red Mill Super-Fine Almond Flour works well.
Don’t skip the plastic wrap on the custard. Placing it directly against the surface of the custard while it chills is what prevents that rubbery skin from forming on top.
Assemble close to serving time. The crust can be made a day ahead and the custard can be refrigerated overnight, but once assembled, the tart is best eaten the same day. The strawberries start to release moisture after several hours and can soften the crust.
Slice strawberries uniformly. For a polished, bakery-style look, try to slice them the same thickness — about ¼ inch works best.
Common Mistakes to Avoid
Adding the filling to a warm crust. If the crust isn’t fully cooled, the custard will melt and become runny. Be patient and let everything come down to room temperature before assembling.
Rushing the custard. Custard needs constant stirring over consistent heat. Turn it up too high and you’ll get lumpy scrambled eggs instead of a smooth, silky cream. Medium heat and patience is the move here.
Using frozen strawberries for the topping. Frozen strawberries release too much water when thawed and will make the tart soggy and wet. Always use fresh for the topping — save frozen for smoothies or baking into the custard if you want a strawberry-flavored filling variation.
Skipping the glaze. It’s tempting to skip this step but the jam glaze does more than make the tart look beautiful — it also seals the strawberries and slows down moisture release, which keeps the crust crisp longer.
Overfilling the tart shell. The custard should fill the shell to just below the rim so there’s room to arrange the strawberries without everything spilling over. Fill to about ¾ full and you’ll be fine.

Mouthwatering Gluten-Free Strawberry Tart
Ingredients
Crust
- 2 cups fine almond flour
- 3 tbsp granulated sugar
- 1/4 tsp salt
- 5 tbsp unsalted butter, melted
- 1 large egg
Custard Filling
- 1 1/2 cups whole milk
- 3 large egg yolks
- 1/4 cups granulated sugar
- 3 tbsp cornstarch
- 1 tsp pure vanilla extract
- 2 tbsp unsalted butter
Topping
- 1½ lbs fresh strawberries, hulled and sliced
- 3 tbsp apricot or strawberry jam
- 1 tbsp water
Instructions
- Preheat oven to 350°F (175°C). Grease a 9-inch tart pan with a removable bottom.
- Mix almond flour, sugar, and salt. Add melted butter and egg; stir into a soft dough. Press evenly into the tart pan. Prick the base with a fork.
- Bake 12 to 15 minutes until edges are golden. Cool completely.
- Heat milk in a saucepan over medium heat until steaming.
- Whisk egg yolks, sugar, and cornstarch in a bowl until smooth. Slowly pour in warm milk, whisking constantly.
- Return mixture to saucepan. Stir over medium heat 4 to 6 minutes until thickened.
- Off heat, stir in vanilla and butter. Transfer to a bowl, press plastic wrap onto the surface, and refrigerate at least 2 hours.
- Spread chilled custard into the cooled tart shell. Arrange strawberry slices on top.
- Warm jam and water in a small saucepan; brush over strawberries to glaze. Refrigerate 30 minutes before slicing.
Notes
save pin for later
